News

Windmill Restoration July 2009

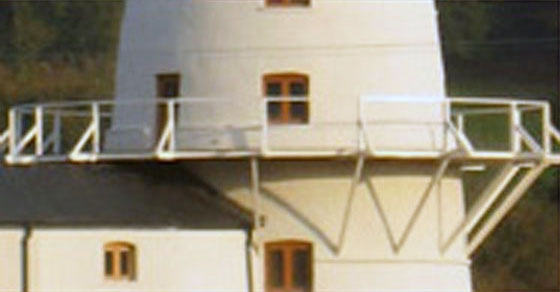
Phew, it’s ready to rent out! Toughened glass has been fitted to the balcony, which looks great; it doesn’t however seem to offer any shelter from the wind.

Time to have a well deserved breather before we tackle our next project, Pencoed Castle,… now that promises to be a whole new adventure!

Windmill Restoration June 2009

Dave has been busy planting shrubs around the outside of the mill, however he did have to draft in help from Jon & Rob Morgan to help him with the grass.

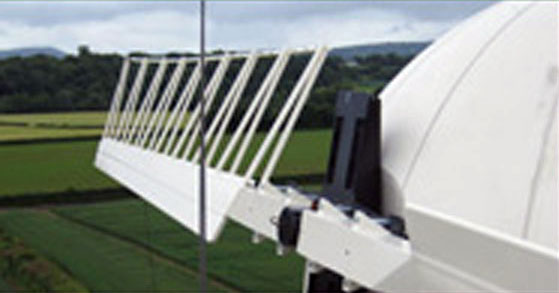
With the sails finally straightened it’s time for fitting. The first was hung vertically below the shaft, with the second being secured opposite, those were then rotated 90 deg and the third and fourth sails were fitted in precisely the same way as the first pair.

We had a few problems with the sails at first, as we had not made the faceplate. I didn’t think that they would spin without the shutters, but they did, and we had to stop them from spinning by hanging an anvil on the front.

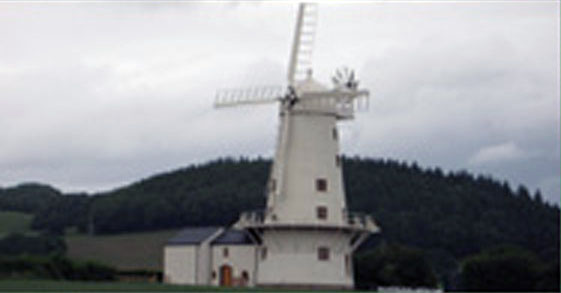
Once the faceplate was fitted and the anvil removed there was no wind so it was over a week before they started to spin. The following week they spun extremely well, infact the fasted we recorded was 18 revs per minute! We have now anchored them off with the brake, until we sort out a generator.
Windmill Restoration May 2009

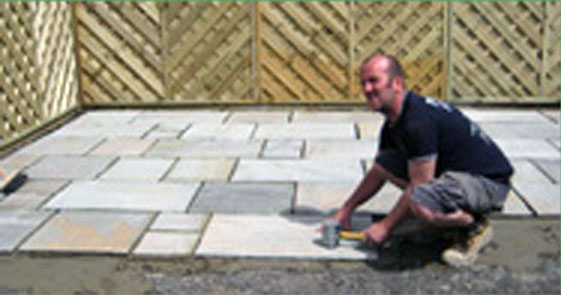
The drive and parking area receive a coat of base tarmac. Gareth and Mark lay the stone paths around the outside and build a BBQ area.

The sails arrive back from the galvanizers, but unfortunately the process has caused them to bow by around 50mm, so Bob has to make an improvised straightening device using a weigh bridge and a 30 tonne jack.

Helen has been busy with the interior. Most of the furniture is now in place, so it almost looks finished.

Windmill Restoration April 2009

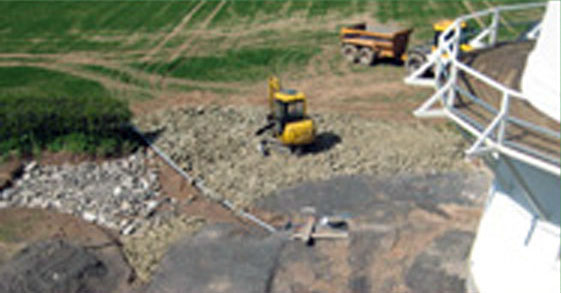
Dave starts work on the parking area, which we have positioned in such a way that parked vehicles are not visible from the road. We used stone for the base from an old quarry on the farm.

The sails are taken to the galvanizers at Hereford. It will be a far better job to have them galvanized rather than just being painted as the galvanization process ensures that, not only the outside, but also the inside of all the hollow sections get treated.

Bob fits the rack & pinion mechanism, the fantail now winds the cap around to face the wind, and it seems to work just fine.
The original mechanism would have required 750 turns of the fantail for one complete revolution of the cap, whereas ours requires 2240 turns. It is far lower geared which has the added benefit of producing a very smooth movement.

Windmill Restoration March 2009

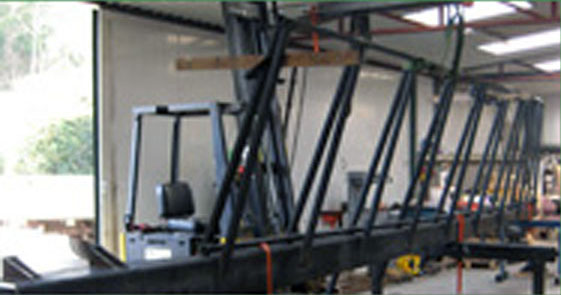
Bob fabricates the sails. The ‘whips’ are 9000mm long, made from steel channels that taper from 300mm to 125mm over the length.

Each of the nine sail bars are 40mm x 40mm box section, set on a gradual curve, starting at 21.5 degrees at the root and finishing at 6.5 degrees at the tip. Each sail weighs 664kg, and that’s without the shutters!

We have the 14 sections of rack, (the mechanism which the fantail turns the cap by) profiled from 30mm steel, and Bob makes a ‘lantern’ pinion to match.

Windmill Restoration October 2008

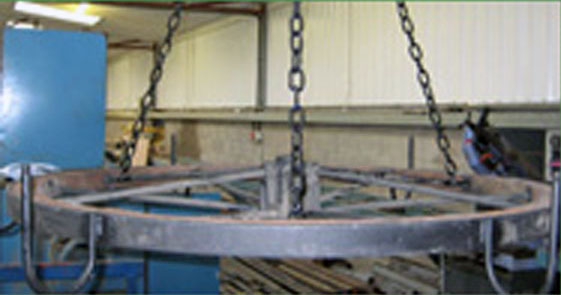
With Bob back from holiday he eagerly starts work making, and fitting the six horizontal centering wheels, which hold the cap central on the track and, (fingers crossed) stop it from lifting off!

We still can’t find any suitable wall lights for the dining room so Bob ends up making those too.
With the rendering complete, the outside of the mill is treated to a few coats of lime-wash. It really stands out now.
The team head off to have a few months renovating a barn, which was originally built in 1616, on my Father’s farm.

Windmill Restoration September 2008

September 10th 2008. The big day has arrived and there’s not much wind, so at 7.00am we decide to go for it and try to get the cap fitted.

Off comes the roof, for the last time, and then the cap is lifted. After the cap the windshaft is lifted and maneuvered into position.

Next to be fitted is the fantail, followed by the fiberglass dome. It’s been a long busy day, but Phil still finds time for a cup of tea.

Windmill Restoration August 2008

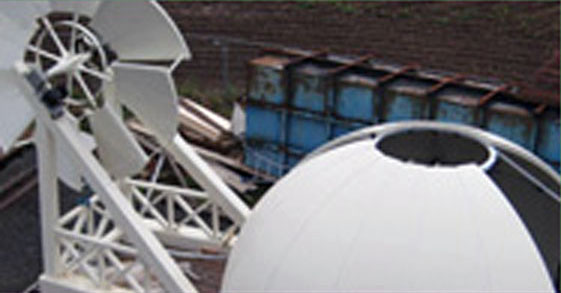
Richard delivers the fiberglass segments and bolts the dome together; we then lift it onto the cap and secure it to the framework.

The front three segments need a bit of modification as I had forgotten to allow clearance for the windshaft to rotate.
The fantail gets fitted to the cap and we’ve found a 3:1 reduction gearbox to connect to it, off an old grain blower, but for now it remains tied off.

I managed to buy two old wheels off ebay, which Bob creatively makes into lights for the dining room and hall.

We decide to make wooden shutters for the windows as they will be more durable and look better than curtains.
The kitchen is fitted; we are just waiting for the granite tops to arrive.

Windmill Restoration July 2008

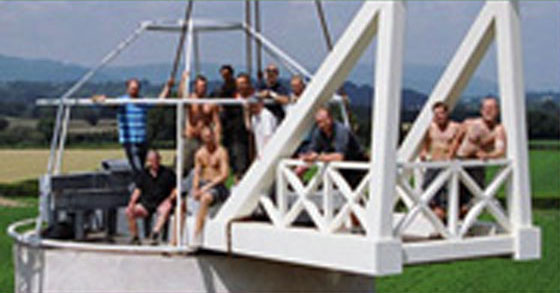
There was much excitement, as we finally got to lift the cap, to make sure it fitted. The deal was that, if it fitted, I had to buy steaks for all the boys, so as you can see from the picture of everyone on the cap it was an expensive lunch followed by Pavols’ Stag night.

As we couldn’t seem to go more than a few days without rain we had to take the cap back down and fit the temporary roof back on, hopefully for the last time.
Richard has been busy making the fiberglass segments for the top dome, I wonder if they will fit?

The kitchen arrives, so that keeps Neil and Phil busy for a couple of weeks.

Windmill Restoration June 2008

Bob was busy with the windshaft, which was fabricated from circular hollow section, 4500m long x 272mm diameter x 12mm thick. The cross on the front of the windshaft is 2000mm wide x 20mm thick; this along with the locating spigots will hopefully hold the sails securely in place.

A local company, Freemont Baxter, who specializes in fiberglass products, was commissioned to make the outer skin of the cap. This consists of 16 identical segments cast in a mould, with the door and windshaft aperture being formed later.

Dave and Mark were busy with the services. Gas and electric are finally in the mill, so we can now, at long last, work without the generator. The second fix for the electrics, plumbing and carpentry are well underway and it wasn’t long before the en-suite rooms were finished too.